![]()

Replacing the screen pack in an extruder is a critical maintenance task to ensure consistent product quality and maintain optimal head pressure. The process requires careful preparation and adherence to safety protocols. The first step is to shut down the extruder completely. Gradually reduce the screw speed and allow the polymer to purge until the barrel is nearly empty. This prevents material from hardening in the die and filter areas.
Once the machine is stopped, lock out and tag out the power source to prevent accidental startup. The next step is to carefully disassemble the die head and breaker plate assembly. These components will be very hot, so always wear heat-resistant gloves and use appropriate tools. After removal, the entire assembly should be placed on a heat-resistant surface. The old, contaminated screen pack is then removed from the breaker plate. A putty knife or a specialized hook tool can be used to scrape it off.
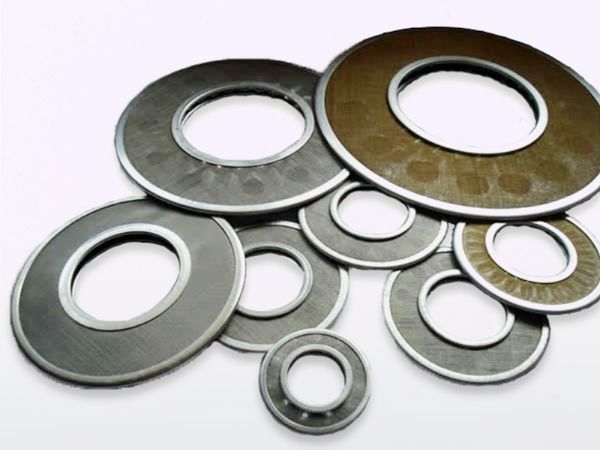
Before installing the new extruder screens, it is crucial to thoroughly clean the breaker plate and the die head contact surfaces. Any residual polymer can cause leaks or pressure inconsistencies. The new screen pack, typically a layered combination of coarse, medium, and fine meshes, is then carefully placed against the breaker plate. Ensure it is centered and sits flush. Reassemble the die head, tightening the bolts evenly in a cross pattern to apply uniform pressure. Finally, bring the extruder back to its operating temperature, restart it slowly, and monitor the pressure gauges to confirm proper function and check for any leaks.